Sunday 30 December 2012

Monday 6 December 2010

Hobgoblin not quite finished...

I opted to paint the statue in Daler Rowney FW Acrylic Inks. They can be used straight out of the bottle in an airbrush and work much like watercolours. The airbrushing was a steep learning curve as I hadn't done any before. I opted to start with the shoes and work my way up before finally airbrushing the head and arms when I had more experience. If I was unhappy with the finish I was achieving then the paint could be washed off with a sponge and started again.


Monday 29 November 2010

Cast parts pinned together

I have started to fill in any discrepancies that didn't quite come out in the casting process with apoxie based magic-sculpt, I prefer this kind of sculpting material over milliput as it is less spongy and works more like a clay. I am also going to use this material to sculpt in the garment around the hobgoblins shoulders as well as the coat tails around the tops of his legs. The texture of his socks didnt quite come out in the cast so I have also added a thin layer of magic-sculpt around them and re-textured them.

I have pinned all of the cast parts together using some 5mm brass rod that I had left over from another project. The rod will provide additional strength to all the joints in case the Hobgoblin is knocked and the glue fails. The rods will also help by holding the parts when they are being glued together.


Saturday 27 November 2010

Arms successfully Cast

The head has been cast successfully, there is a small difference at the back of the head where the seam line is, however this can be blended with some apoxie magic-sculpt. There were some parts of the cast where the wall thickness was a little thin so I poured some more resin into the head and swilled it around to make sure it was covered adequately.

The silicone jacket worked for the arms however it didnt quite work the way that I wanted with both hands and there was resin in the hole between the finger and thumb where he is holding the axe. This can be cleaned up before painting.


Friday 26 November 2010

Casting

I have opted to hollowcast the Hobgoblin in fast cast resin. The cure time for each layer will be approximately 20 mins, with 2 or 3 layers to create the thickness required for each part. The final layer I will need to wait until the cast has cooled before demoulding as fast cast resin is still soft when its warm.

Monday 22 November 2010

Silicone Moulding

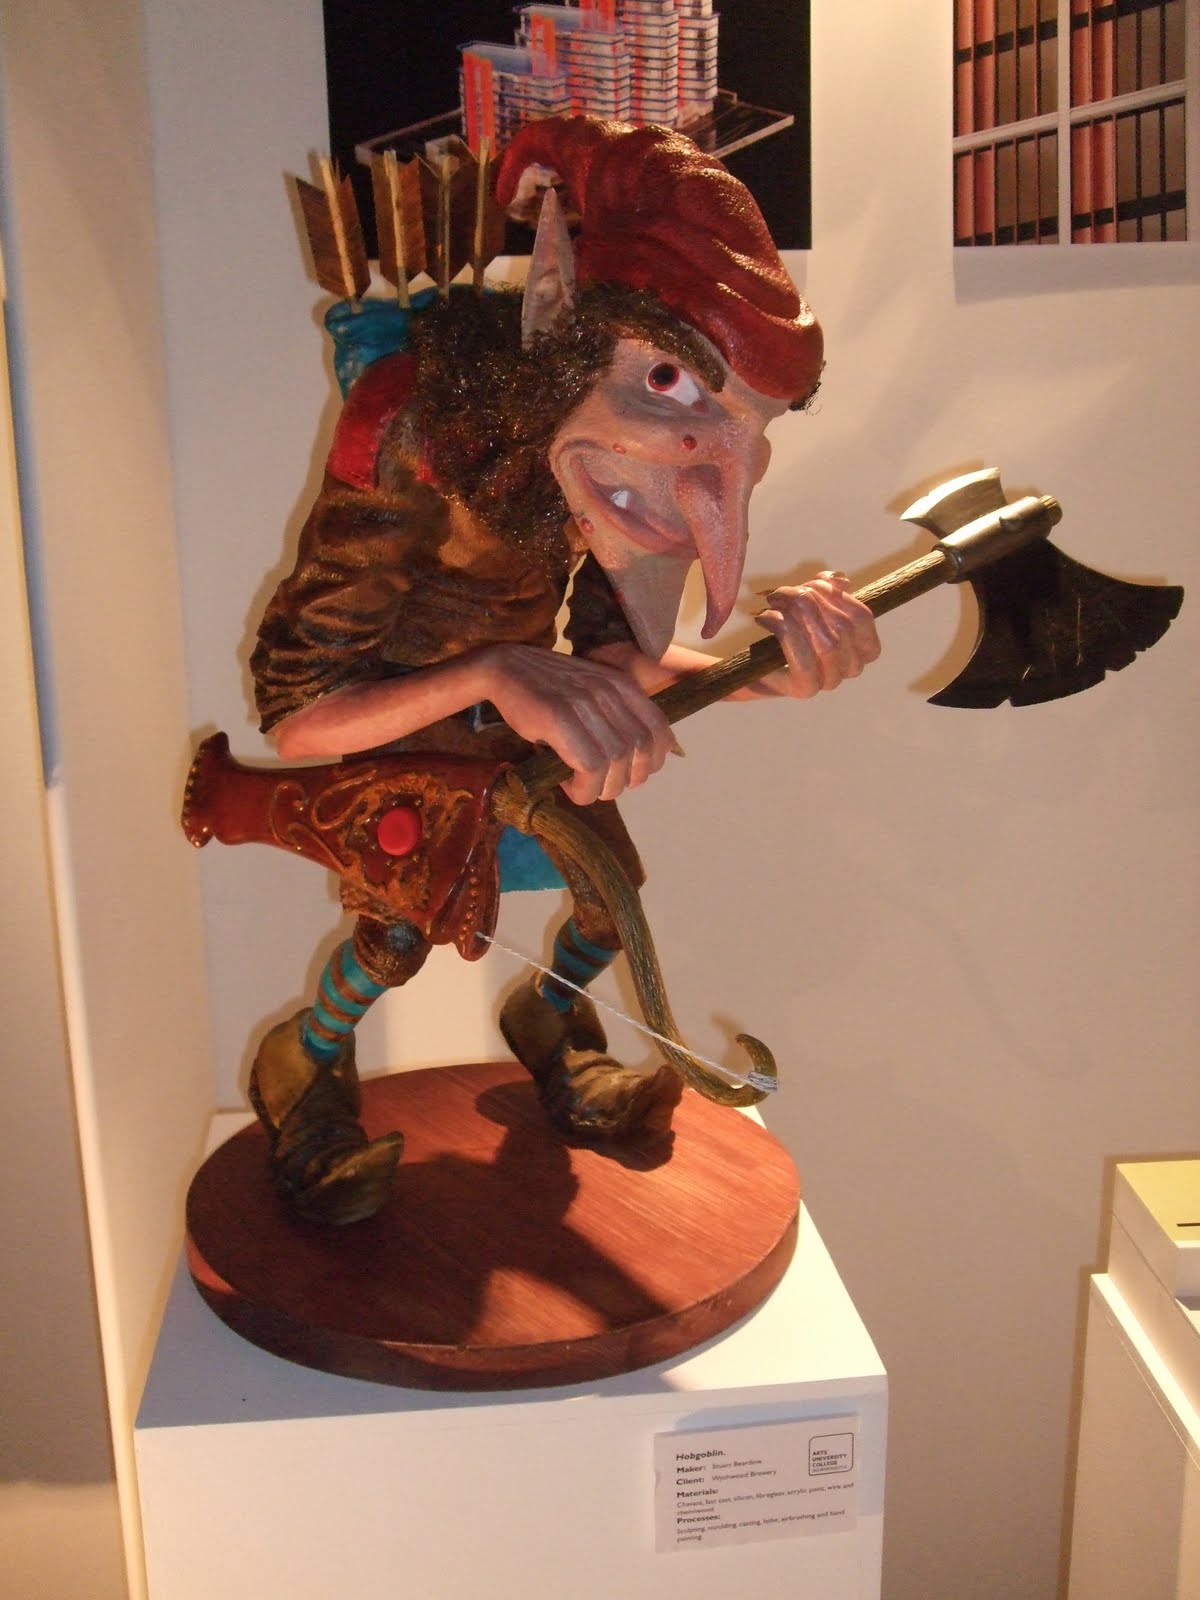
The silicone jacket I am making around the sculpt will be one part with a cut down the back, and then the cut splits off down the backs of the thighs and calf muscles and down the backs of the shoes. This will allow me to keep the seam lines to a minimum with the potential if there are any to not be at the front of the figure.

Body and Legs-

I have opted to bulk out the silicone to remove all the undercuts around the shoes and knees to change the original plan for a six part fibreglass jacket into a two part jacket.

Head-

With the head I plan to make a one part silicone jacket and cut the head out down the back of the hat and then down the back of the head and under the chin. This will avoid a seam line down the front of the face.

Arms-

I intend to mass out the silicone jacket removing the undercuts to allow for a two part fibreglass jacket on each of the arms.